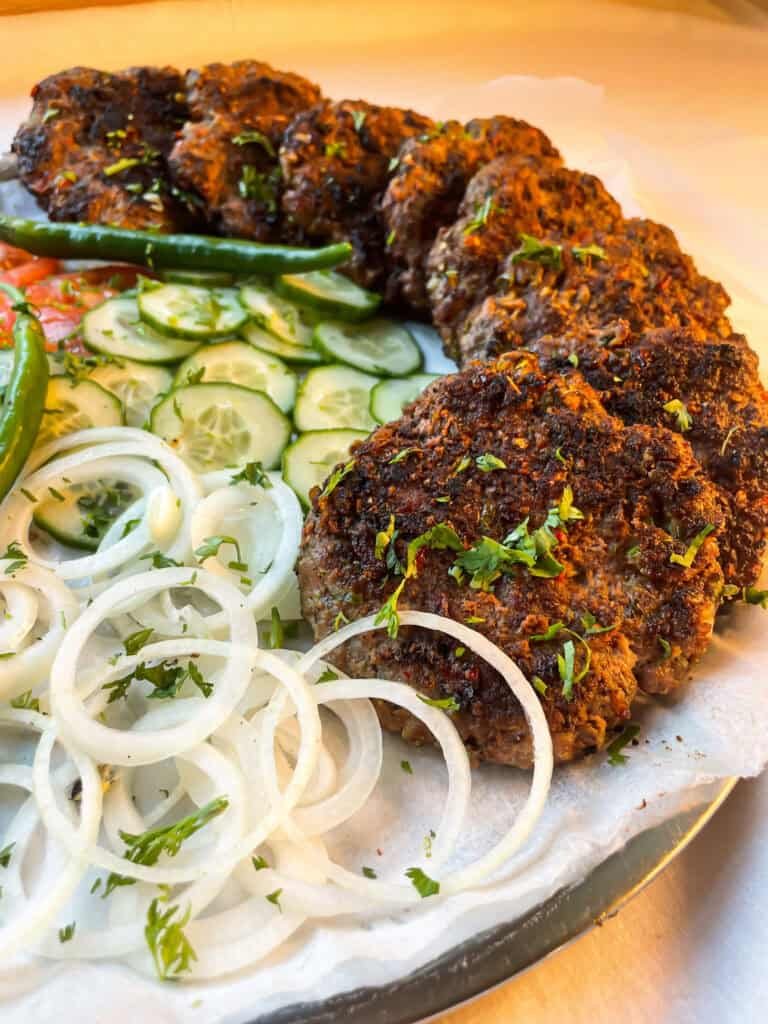
Chapli kabab on tawa is the way this Peshawari street-food favorite has been cooked for generations: flat, spicy patties sizzling in a wide pan until the edges turn crisp and the center stays tender. If you have ever ended up with dry or crumbling kababs at home, the problem is almost never the recipe. It is usually the heat, the pan or the handling.
In this guide, you will learn how to make chapli kabab on tawa step by step, which pan works best, how to control the temperature, and how to keep the kababs juicy and intact. This tawa chapli kabab recipe needs no deep fryer and only a little oil.
A tawa has a wide, flat surface, which is exactly what chapli kabab needs. Here is why it works so well:
For the kabab mixture (makes 8 to 10 kababs)
For cooking
The pan you use changes the result, so choose with care.
| Pan type | Heat retention | Best for | Notes |
| Iron tawa | Excellent | Authentic crisp edges | The traditional choice; needs seasoning |
| Cast iron pan | Excellent | Deep crust and even browning | Preheat well; very forgiving |
| Non-stick pan | Moderate | Beginners, easy flipping | Use medium heat; less crispy edges |
If you want a traditional crust, use an iron tawa. If you are worried about sticking or breaking, a non-stick pan is a safe start. You can cook chapli kabab on a non-stick pan with good results as long as you do not overheat it.
Chop the onion, tomatoes and chilies as finely as possible. Squeeze out the excess juice from the tomatoes and onions, because extra moisture is the number one reason kababs fall apart on the pan.
In a large bowl, combine the mince, chopped vegetables, coriander, ginger-garlic paste, crushed spices, salt, pepper, egg, flour and lemon juice. Mix and knead with your hands for 3 to 4 minutes until the mixture turns sticky and slightly pasty. This kneading step helps the kababs hold together.
Cover the bowl and refrigerate for at least 30 minutes. Resting lets the flour absorb moisture, the spices bloom and the mixture firm up, which makes shaping much easier and prevents breaking on the tawa.
Wet your hands lightly with water. Take a portion about the size of a small lemon and flatten it into a round patty about 10 cm wide and 1 cm thick. Press a small dent in the center with your thumb so the kabab cooks evenly. Place the shaped kababs on a tray lined with parchment.
Place your tawa on medium-high heat for 2 to 3 minutes. Add 2 to 3 tablespoons of oil and let it shimmer, then lower the heat to medium. This is the sweet spot for chapli kabab on tawa: hot enough for a crisp crust, gentle enough to cook the inside.
Gently place 3 to 4 kababs on the tawa, leaving space between them. Do not move them for the first 3 to 4 minutes. Letting the crust set is the secret to flipping without breaking.
When the edges look golden and the kabab releases easily, flip it with a wide spatula. Cook the second side for 3 to 4 minutes. Spoon a little hot oil over the top and press gently once for even contact.
The kababs are done when both sides are deep golden brown and the center is cooked through (about 71 degrees C or 160 degrees F if you use a thermometer). Drain on paper towels for a moment, then serve hot.
Temperature is where most tawa chapli kabab recipes go wrong.
Wipe the tawa between batches and add fresh oil so each batch cooks the same way.
You need enough oil to coat the surface of the tawa, roughly 2 to 3 tablespoons per batch. Traditional street-style chapli kabab uses more, but a thin, even layer still gives crisp edges. Add a spoonful more only if the pan looks dry.
If your kababs crumble, check these common causes:
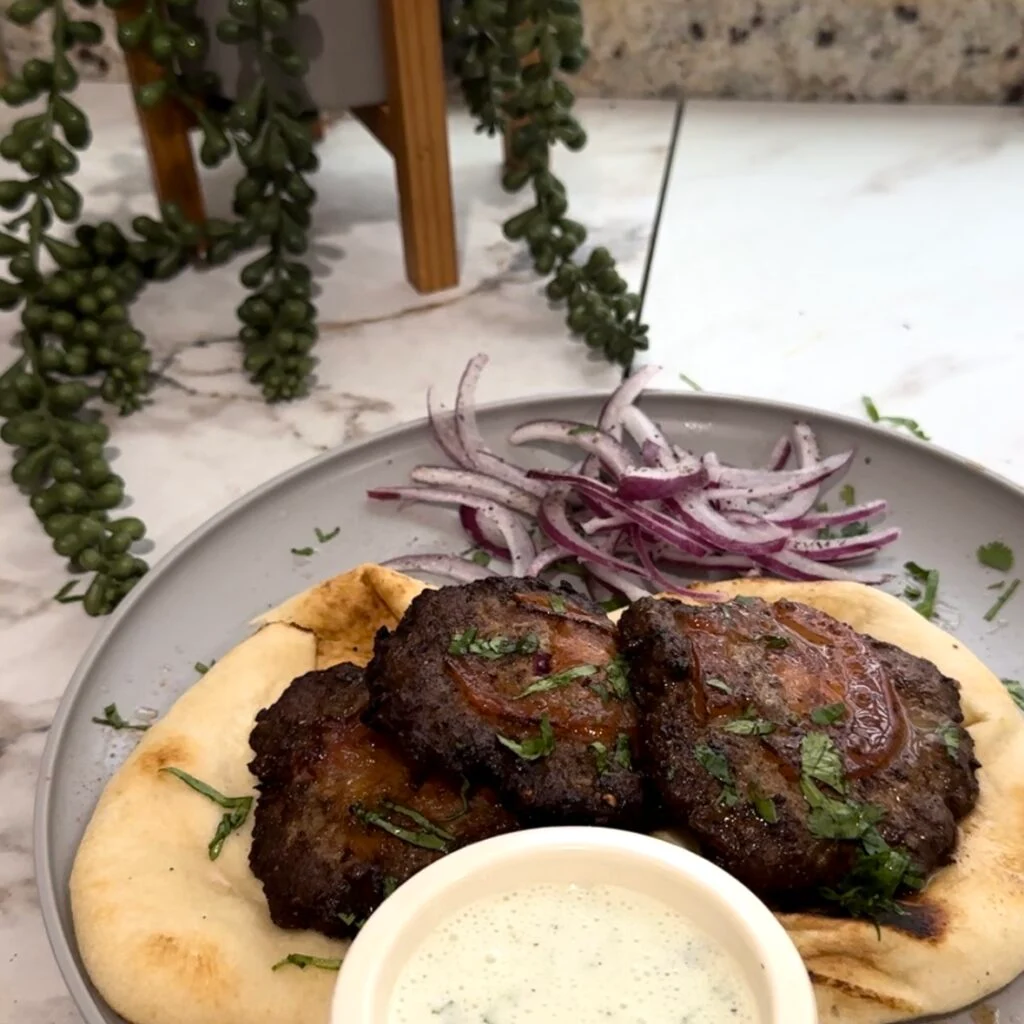
Serve the kababs hot with fresh naan, mint chutney, sliced onions, lemon wedges and cooling raita. For more ideas, see our guide on what to serve with chapli kabab.
Making juicy chapli kabab on a tawa comes down to three things: a well-kneaded and rested mixture, a properly preheated pan, and patience while the crust forms. Follow these steps and you will get kababs with crisp edges, a tender center and the bold flavor of Peshawari street food.
For more recipes, read our authentic Peshawari chapli kabab recipe, our guide to juicy beef chapli kabab, and our tips for crispy chapli kabab without deep frying.
Yes. Use medium heat, a little more oil than usual and avoid scraping the pan with metal tools. The edges may be slightly less crisp than on an iron tawa.
The pan was probably not hot enough, or you flipped too early. Preheat the tawa, add oil, and let a crust form before moving the kabab.
About 3 to 4 minutes per side on medium heat, so 8 to 10 minutes in total for each batch.
Use mince with some fat, avoid overcooking, rest the mixture before shaping, and cook on medium heat.
Yes. The mixture keeps well in the refrigerator for up to 24 hours, and the flavor improves with resting.

Welcome to Orange Foods Expert, your premier destination for top-quality frozen foods! At Orange Foods Expert, we pride ourselves on delivering a wide array of delicious and convenient frozen meals.
Copyright © 2026 Orange Foods Expert All Rights Reserved.
Privacy Policy l Term of Service
WhatsApp us